Nessus Vulnerability Scanner – Setup and Perform a Network Scan
What is Nessus?
Nessus is a widely used tool for identifying and assessing vulnerabilities in computer systems, networks and applications. It is a popular choice among security professionals for conducting vulnerability and penetration testing assessments and compliance checks.
How it works?
Nessus first discovers assets on the network to create an inventory of devices. Then it conducts active scans to identify vulnerabilities, missing patches, and misconfigurations. After that Nessus matches findings against a database of vulnerabilities to provide details and risk levels. At the end, the vulnerability scanner generates comprehensive reports with recommendations for remediation.
How to setup Nessus?
1. Download Nessus: Download Tenable Nessus | Tenable®. To install it on your Kali machine, use the Linux Ubuntu amd64 version.
2. Install it with the following command:
sudo dpkg -i Nessus-10.8.3-ubuntu1604_amd64.deb
3. Start the Nessus service:
/bin/systemctl start nessusd.service4. Open a browser and navigate to:
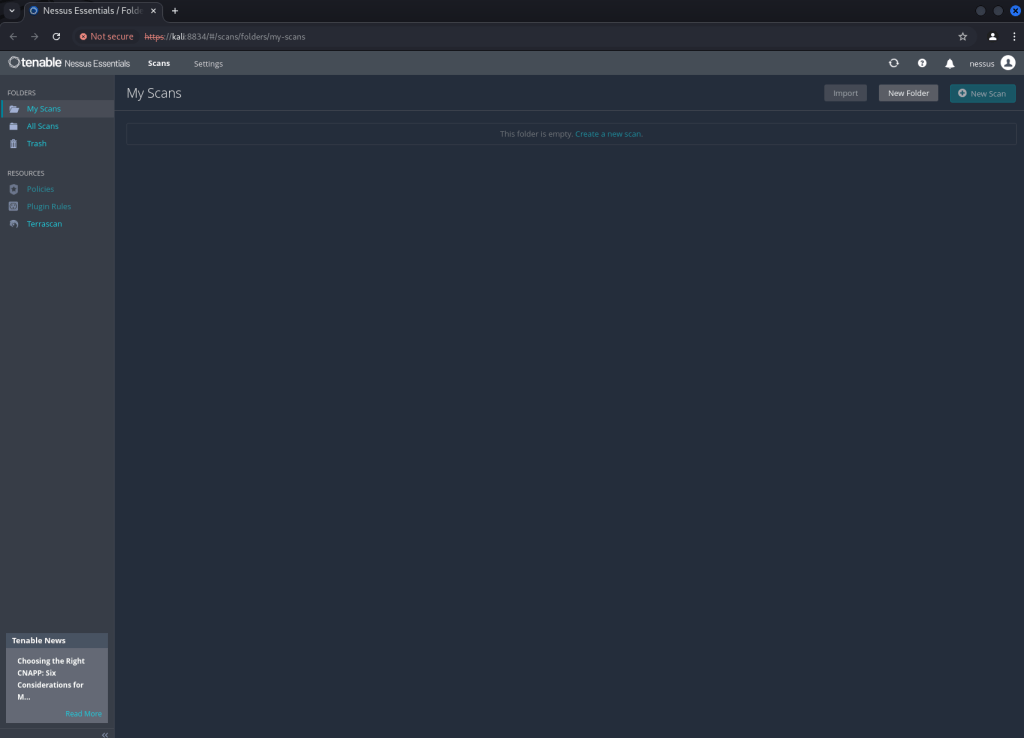
https://kali:8834/5. Configure the Nessus installation to use Nessus Essentials. For that register a new Tenable Nessus Community Account and get the activation code to process the Nessus Essentials installation. Wait until the installation is complete. You should see the following page:
Finally, the setup is now complete!
Perform a Nessus basic network scan
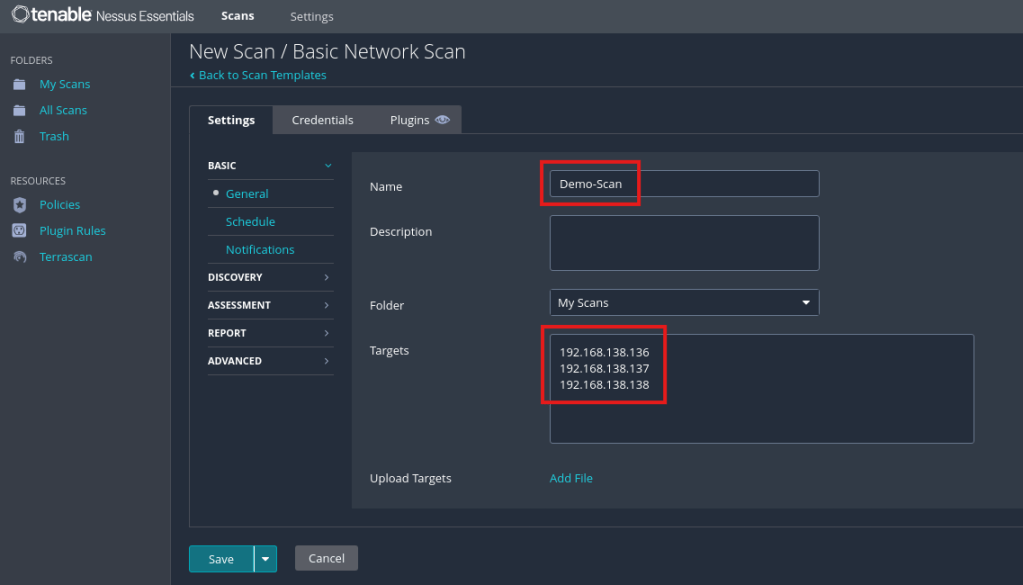
1. Click on New Scan and select Basic Network Scan. Enter a name for the scan and all target hosts to scan:
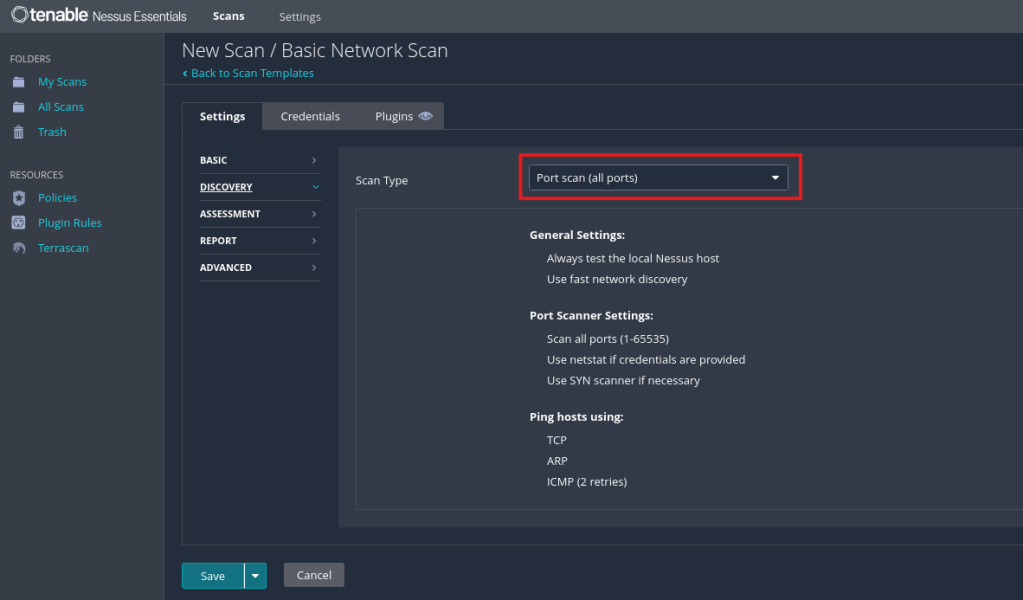
2. Under the Discovery Tab switch to Port scan (all ports):
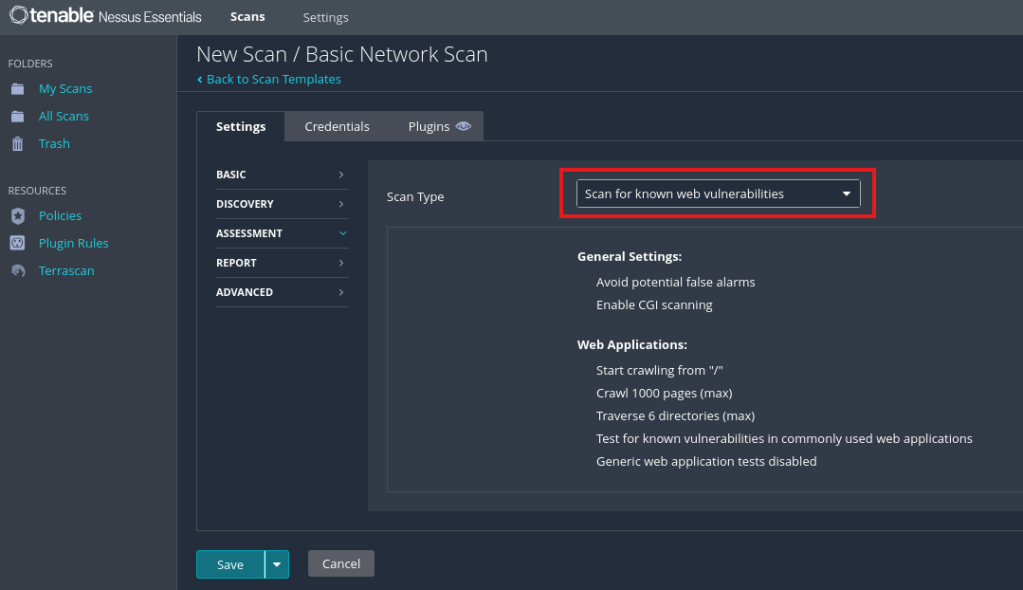
3. Under the Assessment Tab switch to Scan for known web vulnerabilities:
4. Click on Save to finish the scan configuration. Now you can start the configured scan over the Launch icon:

5. After the scan is completed, you can view the results:

You can export the results over the Export button.

Leave a comment